Etching glass is an easy way to make custom gifts (for yourself or someone else). I’m going to assume you already have a stencil to use, but I will create another tutorial on how to make the stencil if you don’t already know-how. For the glasses, I usually treasure hunt for them at Ross or Marshall’s. You can consistently find a 4 pack for under $5. The good thing about the etching formula is that it literally seems to last forever, so one bottle will go a long way.
Things you will need
Glass etching cream
A small wood stick or something to stir the etching
A glass to etch
A vinyl stencil
Small paintbrush
Piece of cardboard
Painters tape
Rubber gloves
Protective eyewear
Transfer tape
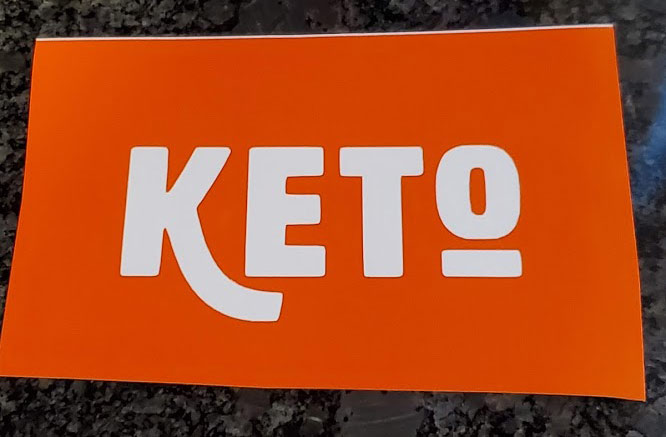
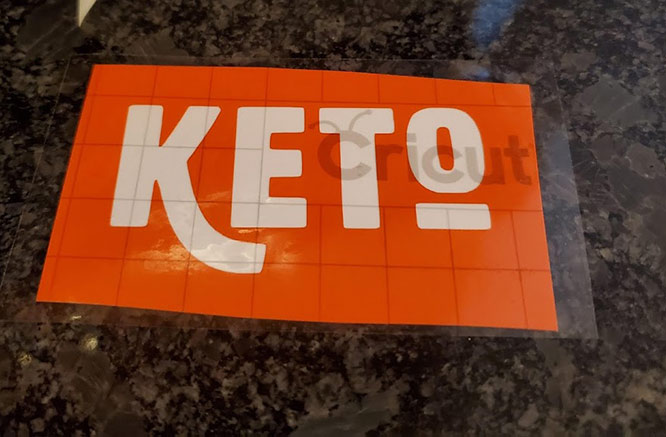
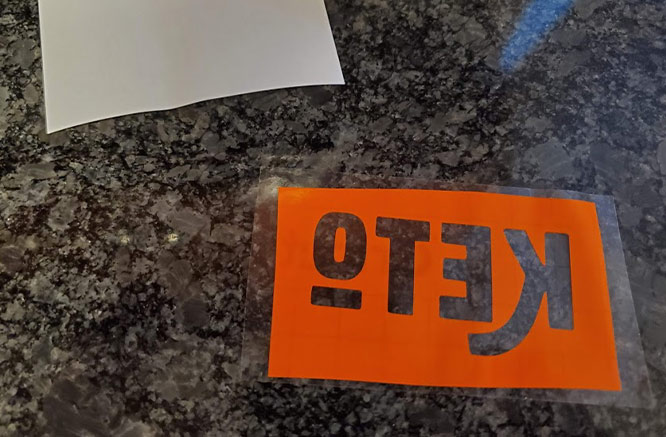
Step 1: On your decal remove only the parts that you want frosted.
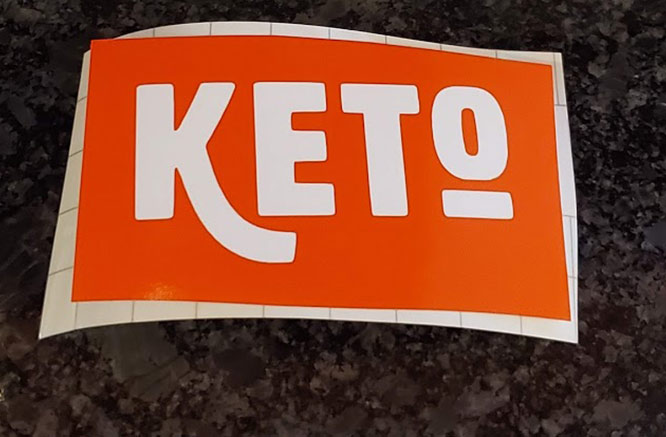
Step 2: Cut out a piece of transfer tape that is just slightly bigger than the decal, remove the backing on the transfer tape and place it on the decal.
Step 3: Turn it over (transfer tape up) and press firmly on the decal back to make sure it sticks to the transfer tape.
Step 4: Remove the decal back.
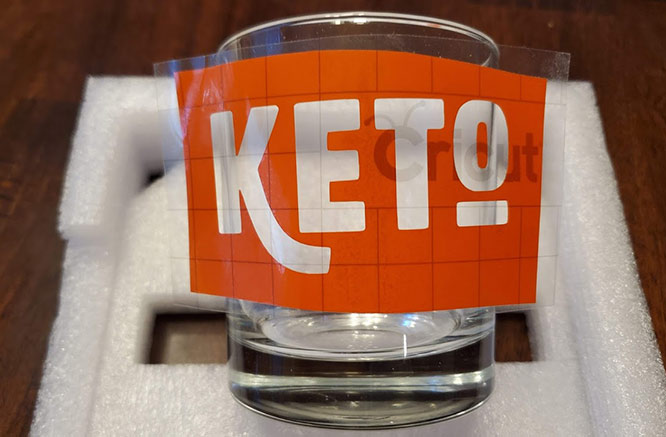
Step 5: Carefully line up the decal on the glass, start in the middle and smooth out each side. Rub over all of the decal firmly to adhere it to the glass.
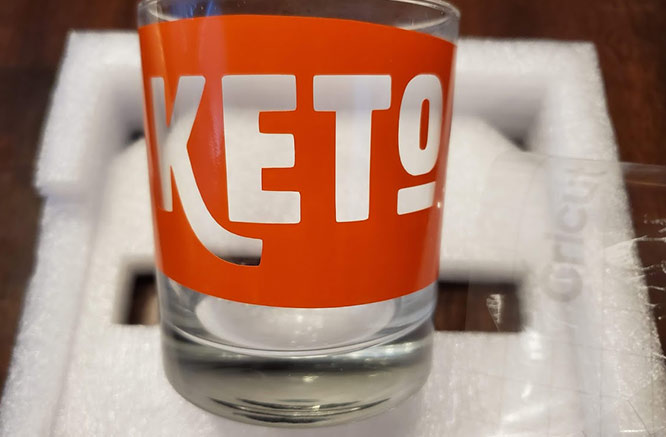
Step 6: Next slowly remove the transfer tape, ensuring the decal sticks to the glass.
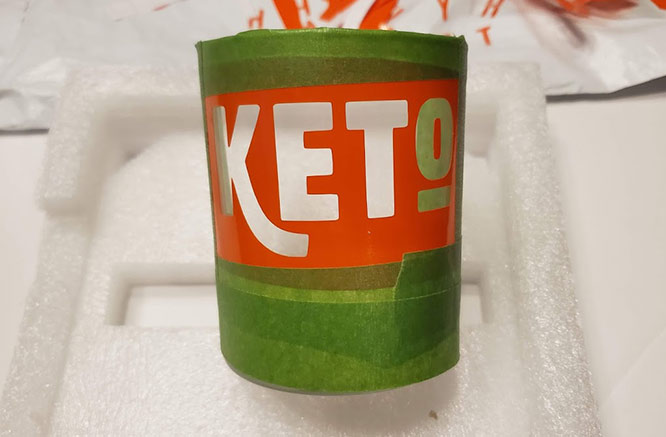
Step 7: Tape up all of the edges around the glass with the painters tape.
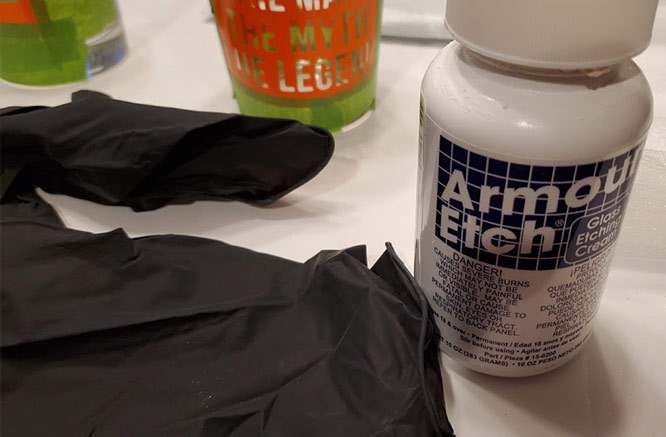
Step 8: Put on your safety glasses and rubber gloves and stir up the etching cream. You MUST wear rubber gloves because if you get this on your bare hands it can burn you.
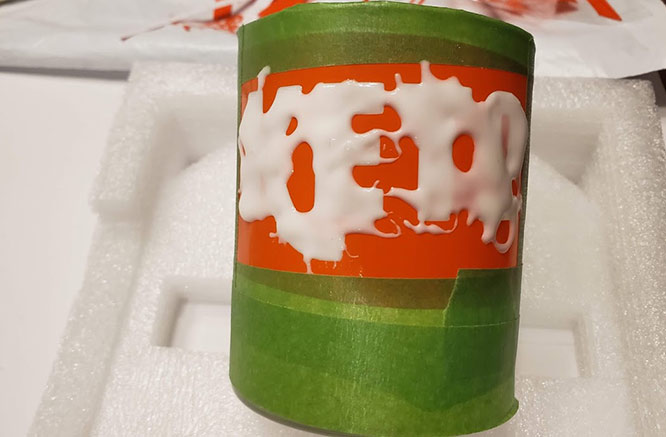
Step 9: Using your paint brush apply a generous amount to where you want you want it etched. Wait 5 minutes. Keep an eye that it doesn’t drip. If it does start to drip, just remove the drip with your paint brush.
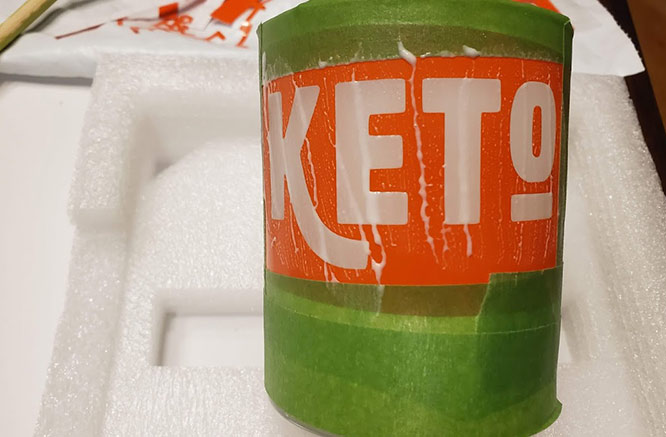
Step 10: After 5 minutes, remove all of the excess cream and place it back in the etching cream container.
Step 11: rinse it off in warm water. You should still be wearing rubber gloves, so you can use your fingers to make sure all of the etching is removed under the water.
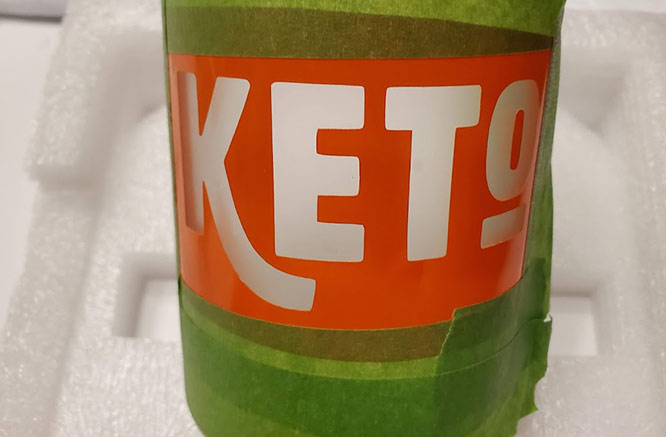
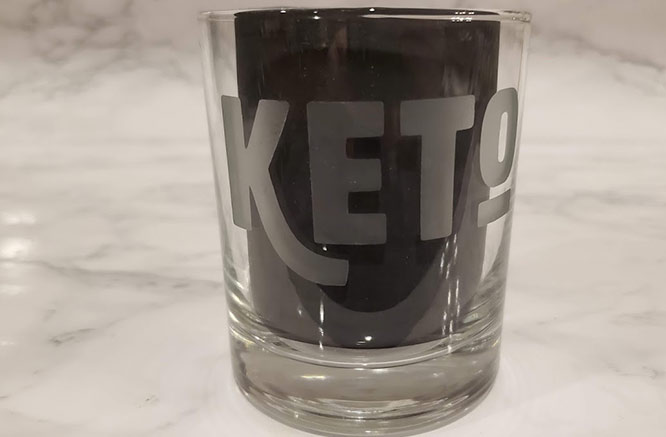
Step 12: At this point it’s safe to remove your rubber gloves. Remove the tape and all of the decal and you’re done.